PV installation: On roof, in-roof & flat roof step-by-step


1. Introduction
Photovoltaic systems are all the rage — and rightly so. Because anyone who generates electricity themselves makes themselves more independent, reduces costs in the long term and contributes to the energy revolution. But before the electricity flows, it must first be installed. And this is exactly where it gets exciting: On the roof, in the roof or flat roof? Each variant has its own advantages — and challenges.
In this guide, we'll show you step by step how to mount PV panels safely, efficiently and durably. Regardless of whether you get involved yourself or want to have your say when the assembly team gets involved: This is where you get an overview.
2. Preparation (applies to all roof types)
Step 1: Check roof condition
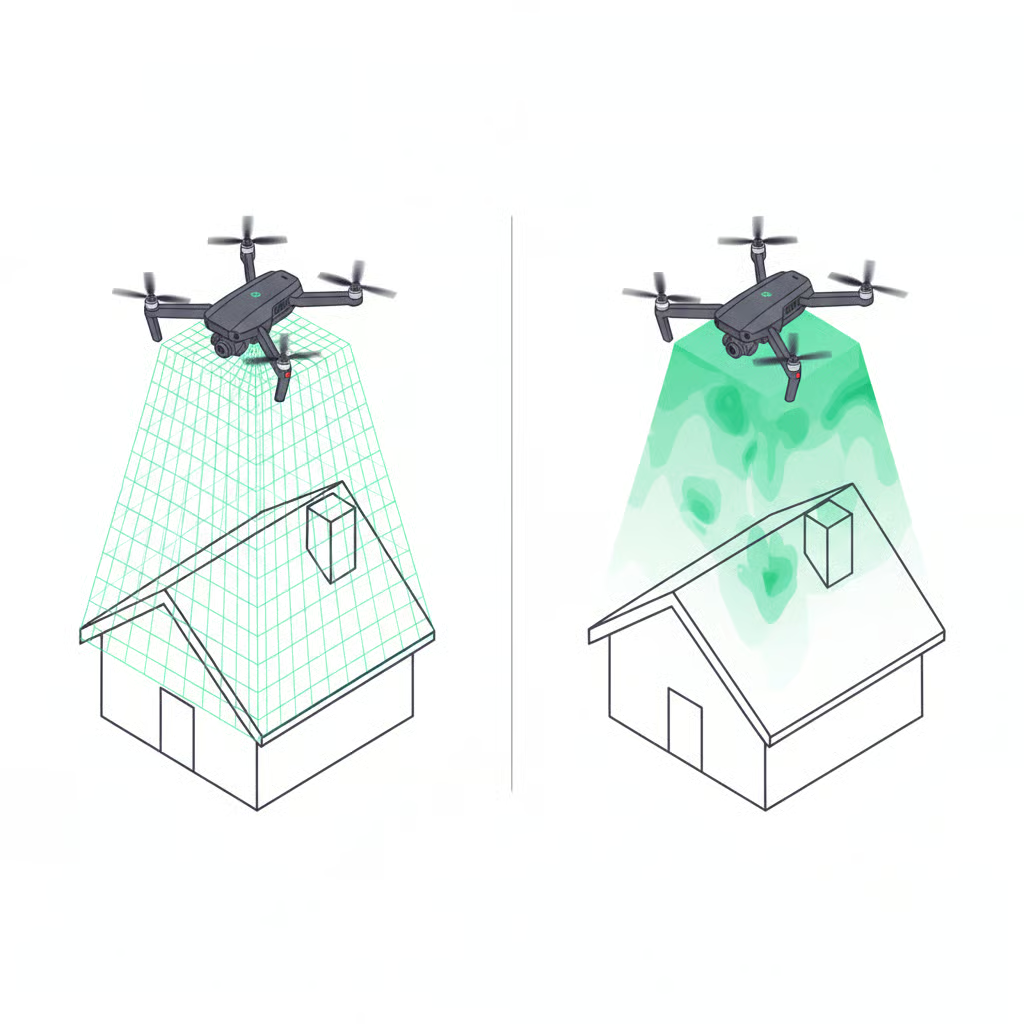
Your roof should be in good condition and be able to bear the static load. Particularly important for old buildings. In case of uncertainty: Consult a specialist company.
Step 2: Approvals & Registration
Inform network operators, observe market master data registers, possibly consult the building authority. Meet deadlines!
Step 3: Prepare materials & tools
PV modules, mounting systems, inverters, cables, tools — everything within easy reach? That's when you're ready to go.
Step 4: Safety comes first
scaffolding, fall protection, gloves, helmet. Sounds basic, but it's essential.
3. On-roof installation (pitched roof)
What is that?
The modules are mounted on the existing roof covering. This is the most common and often cheapest option.

Here's how it works step by step:
- Raise bricks: Only where roof hooks are installed. Be careful to avoid breakage.
- Set roof hooks: Straight onto the rafters, screw them together. They carry the aluminum rails.
- Fasten mounting rails: Align parallel to each other and screw onto the hook.
- Put on & clamp the modules: Secure with middle and end clamps. Make sure the rows are even.
- Wiring: Route DC lines according to plan, bundle them neatly.
- Have the electronics connected by a professional: Inverters, power supply, protection systems — this requires expertise.
advantages:
- Good rear ventilation
- Proven technology
- Easy to retrofit
4. In-roof installation (integrated)
What is that?
Here, the PV modules replace parts of the roof covering and are integrated directly into the roof surface. Ideal for new construction or renovation.
Here's how it works step by step:
- Remove roof tiles: Only in the designated area.
- Install the support frame: Secure special systems with a sealing function to rafters.
- Use modules: Like puzzle pieces in the roof. Integrate seamlessly.
- Sealing: Clean transitions with sheets and foils.
- Wiring & connecting: As with rooftop installation — but often tighter and more complex.
advantages:
- Particularly aesthetic
- Wind & weatherproof
- Two functions in one (power & roof)
Attention:
- Less back ventilation = higher module temperatures
- More complex and expensive
5. Flat roof installation
What is that?
Modules are elevated on the roof. Ballasted (weighted) or screwed. No need to penetrate the roof covering.
Here's how it works step by step:
- Select system:
- Ballasted: concrete slabs weigh down the frame
- Bolted: Connected directly to roof (only with sealing!)
- Plan slope: 10—35 degrees is optimal. More inclination = higher yield.
- Maintain row spacing: So that modules do not shade each other.
- Assemble racks: Align and secure according to assembly instructions.
- Fasten modules: Put it on, clip it in, wire it up.
- Apply ballast: Protect wind loads in accordance with the manufacturer's instructions.
advantages:
- Flexible and fast
- The roof remains intact
- Often possible without approval
6. Electrical: Only from a specialist company
No matter how well you install, it won't work without a proper electrical connection. Inverters, feed-in points, circuit breakers and registration with the grid operator — that's a professional matter.
7. Conclusion
Installing your PV modules doesn't have to be a mystery. With the right plan, some technical knowledge and a healthy dose of caution, you can prepare a lot of things or even do them yourself. Whether on a shed, house roof or company building: When technology, roof type and requirements match, nothing stands in the way of your solar project.


